An awful lot of labour has gone into Seascape's top sides following an infinite number of bumps and grazes, some of that labour was unfortunately not always of the highest standard.
Phil has spent some time surveying the crazes and cracks along the topsides, probing and grinding them back to find all sorts of fillers have been used to fill the dinks.
Dink discovery
Nothing escapes the eagle eyed Phil, he can glance at a hull and homes in on the unusual ripple and talks of laminate "grinning" through the gelcoat and can see a colour change in the gel from a thousand yards. Consequently every inch of the topsides is being checked, and like a surgeon , where there is infection the wound is cleaned , debrided and repaired properly using laminations of glass fibre and epoxy followed by layers of gelcoat. Layers and layers of gelcoat are applied to create a basis for rubbing them all down.
Layers on layers of gelcoat
The rubbing down of gelcoat follows a well practiced protocol, the hors d'ouvre being 280 grit wet n dry which is used to thoroughly cut back and fair the hull often with a long board to smooth out the dents and bulges left by less concerned repeairers of the past historic and returning the hull to it's designed curves. Following the heavy cutting comes the start of the main course of finessing the gel by smoothing it using 400 and 600 grit which is held in the hand and rhythmically guided along the hull in a specific and well rehearsed fore and aft motion using the palm of the hand to hold the paper, never the fingers because they leave imperfect ridges which can be seen from afar with a trained eye. The application of soapy water acts as a lubricant as long sweeps of the hand horizontally are timed and spaced to never leave a gap, each sweep of the hand is followed by a tweaking dance of the opposite arm crossing the body in an exercise that is aerobic and burns calories as fast as any gym.
We are not done yet as we continue to remove the ridges caused by the cutting by rubbing down with ever finer papers as we traverse 1200 grit and finally finish off with 2000 grit, again used wet and with the same tweaking motion carried out while balanced precariously on a scaffold blank some 5ft in the air!
At this point the hull starts to provide payback and a shine starts to appear, but we are not done yet, 2000 grit is followed by cutting compound courtesy of 3m applied by rag and then driven in lazy figure of eights by a lambs wool bonnet on an electric buffer. Finally we apply polish with a cloth, wait for it to dry and then wipe off leaving a lustre like you have never seen on anything less than Bentley.
It's a labour of love but the results are stunning.
Shines like a diamond
Polish
Comparing the old yellowed finish to the repaired and repolished leaves a stunning impression, on the next photo you can see the unpolished starboard side in the left and the polished and repaired hull on the right.
Dull yellow vs shiny white
Next job is for me to start work on the upper blue stripe which is cracked and bruised in a few places, this needs to go through the 400 grade part of the process in order that it can be covered with vinyl wrap, this will take a bit of time but cleanliness is next to godliness as the wrap is only a few microns thick and any blemishes on the surface to which it is applied are I am assured , going to be visible. So get the elbow grease revved up, here I come .
Quarter shined up too, beam still to cut back once cured
Today I turned up late to the boat after a morning at the house project, Phil had been at the boat since 06:30 and his back was aching and I felt very bad, but he was on the final 2000 grit polish of the hull, prior to compound and polish and it already looked amazing.
So I helped him with the compounding and polishing and promised to remove the remaining cove line and here is the result.
It's been a week of fairly active work, apart from the house project the mast has been lifted and in preparation there has been much to do.
Mast n string
The stay for the stay sail has been enhanced with a furler (upper left) which was splendid and then we realised that there was no where to put the boom so we had to swap it back quickly for a simple original stay and put the new furler into storage while a solution is found.
I also mounted the new radar scanner and reeves the new halliards, put on the new lazy jacks and sorted the mass of cables, ropes and string into a sensible order so that when the crane came along we could lift her without everything getting tangled.
Well the saildrive saga continues of course.
No straight lines in this game, I went to visit the marine engineers to see what progress had been made in sourcing the special tool that was apparently broken. On further investigation it appears that it is more likely that the tools was lost as when I suggested I get another one made they could not find the broken bits!
In fact Volvo were quoting at least 6 weeks to source a replacement and meanwhile the engineers were left scratching their "ears"
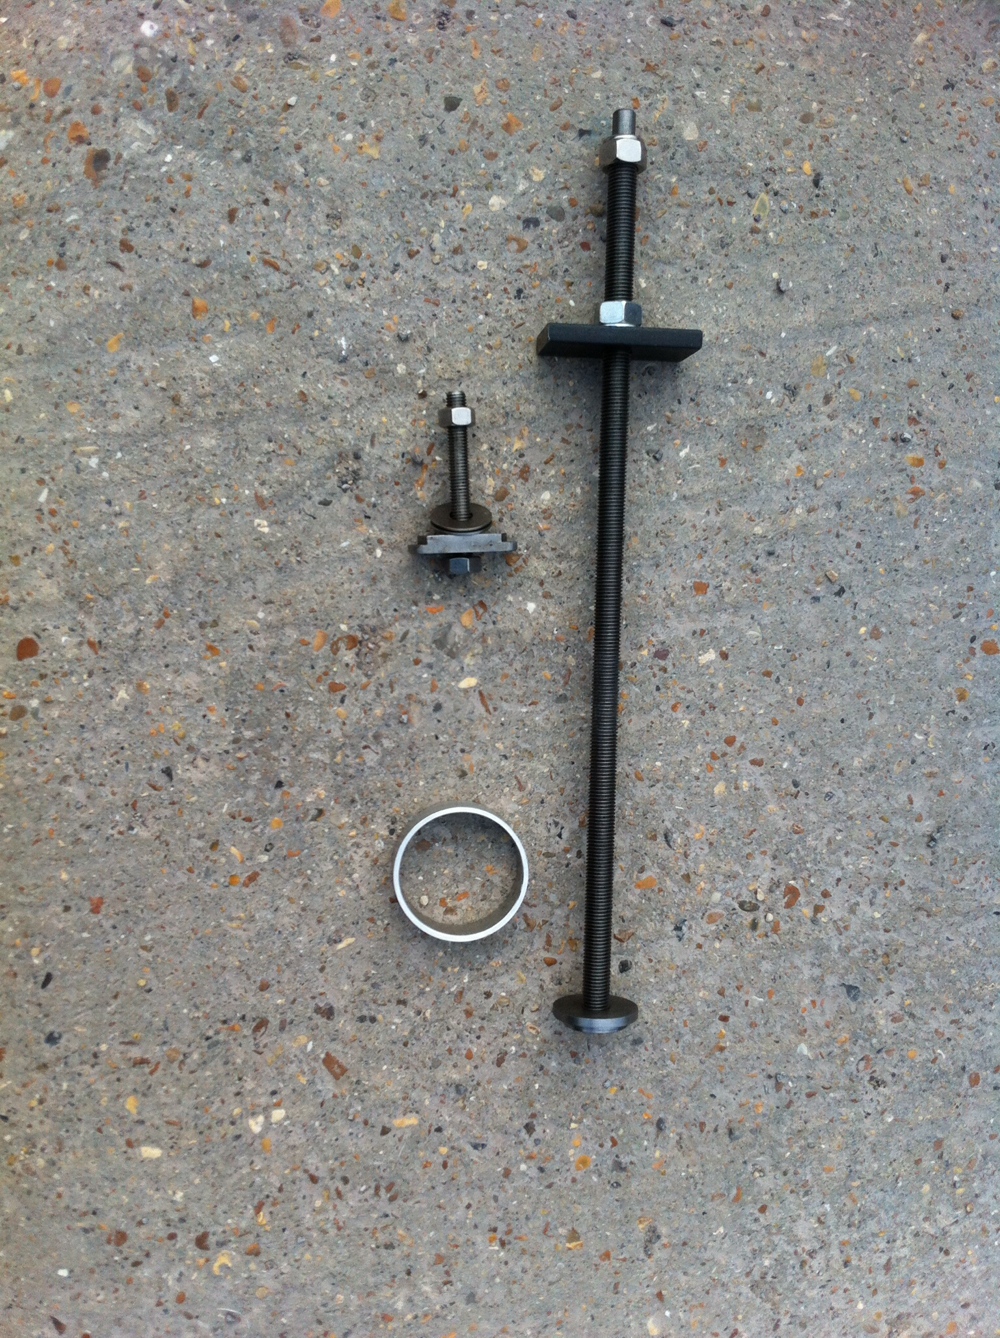
So after looking at the instructions for the tool and getting hold of my saildrive and a bearing I established that what was required was a bearing puller with a long shaft and specific diameter.
Now I know a very talented engineer in Netley Abbey who can make anything out of metal and so I drove to meet him, sat in his engineers's office surrounded by specs and projects that were in progress and together we drew out the tool, the specs and the process and off Ted went to draft it.
I have the greatest confidence in Ted of Abbey Engineers in Netley Abbey and we will see if together we can show these multinationals how to solve a problem.
Excited and again on the long march forwards.....
Update Thursday 26th may
Saildrive bearing removal tool mk1 has been manufactured by Ted and has been picked up and taken to RK marine so that they can put in the bearings with it. I should be able to pick up the saildrive, the tools etc tomorrow.
Saildrive bearing puller
So the tool has been built, tested and delivered to RK marine and they have installed the drive bearings so I have brought the saildrive leg back to TS marine at Universal, they will now be able to reinstall the leg in the boat , Hurray!
Trouble with Sagas!
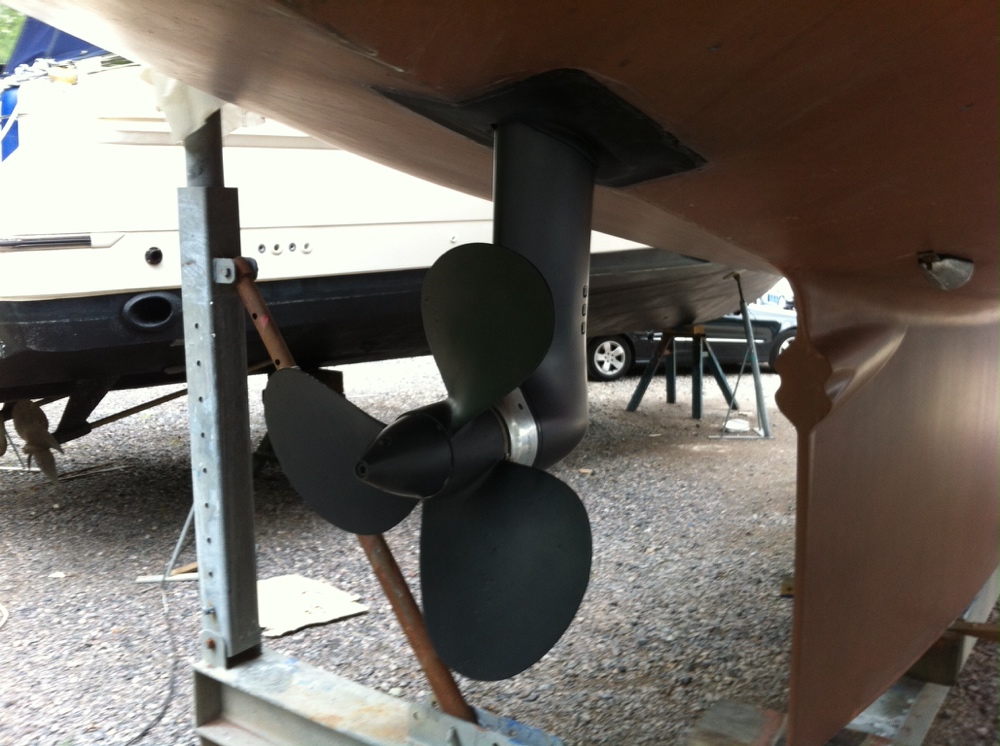
They go on and on, good news here is my installed saildrive
Saildrive
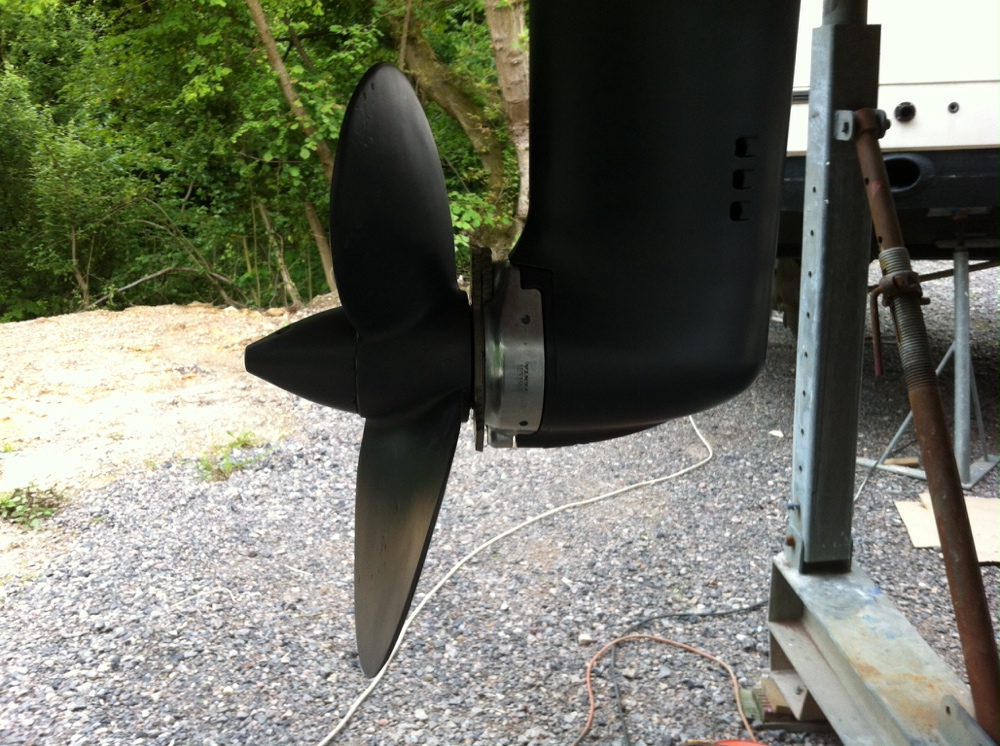
Bad news was that when I went to pick up the anode from Ambassador I was given some sage advice which was to make sure that there was a gap between the prop boss and the prop so that the washer could spin.
This is because the propeller has a rubber insert as a shock absorber in it, which is encased in an inner cyclinder which is supposed to sit proud of the prop at the boss end in order that the boss is not spun off by reversing the prop suddenly. If it is not proud enough or in my case is actually sunken then the prop is going to I spin the thread holding itself on and farewell my lovely!
As you can see from the above the two are firmly touching, which means that the propeller is knackered and if left the prop is likely to spin off the shaft leaving a nasty mess!
So the prop has to come off, worse news is that the spare is as bad, so the boat cannot be launched until a replacement is found.
Boss
I am going MAD with frustration, this whole saga is jinxed